QUILTED MOUSE PAD

I needed a fun, fast project and this is what I made. It was so quick and just what I needed. These would make excellent gifts, especially for teachers and stocking stuffers! The first thing you need is double fusible foam. I started with a 15" x 15…

I needed a fun, fast project and this is what I made. It was so quick and just what I needed. These would make excellent gifts, especially for teachers and stocking stuffers!

The first thing you need is double fusible foam. I started with a 15" x 15" scrap piece. I had some left over from bags that I had made. If you don't have any of this type of foam, most any similar product (batting or interfacing) that is fusible on both sides will work. If you know what size mouse pad that you want, you will just need the foam cut to the size that you picked out. You will also need fabric scraps, thread, and a fat quarter (or similar sized piece of fabric) for the back. I have a picture below of the products that I used.

I used some hexie scraps that I already had on hand. I placed the hexies on the double-sided fusible foam. This will be your final placement so pick a layout design that you really like, and also line the pieces up as straight as you can. 2 1/2" squ…

I used some hexie scraps that I already had on hand. I placed the hexies on the double-sided fusible foam. This will be your final placement so pick a layout design that you really like, and also line the pieces up as straight as you can.

2 1/2" squares would be super cute too. This would be a great way to use those adorable mini charm packs!

Next, I ironed the fabrics down onto the foam. Then, I ironed the fat quarter on the backside of the foam. There's no picture of the back being ironed down.

Next, I ironed the fabrics down onto the foam. Then, I ironed the fat quarter on the backside of the foam. There's no picture of the back being ironed down.

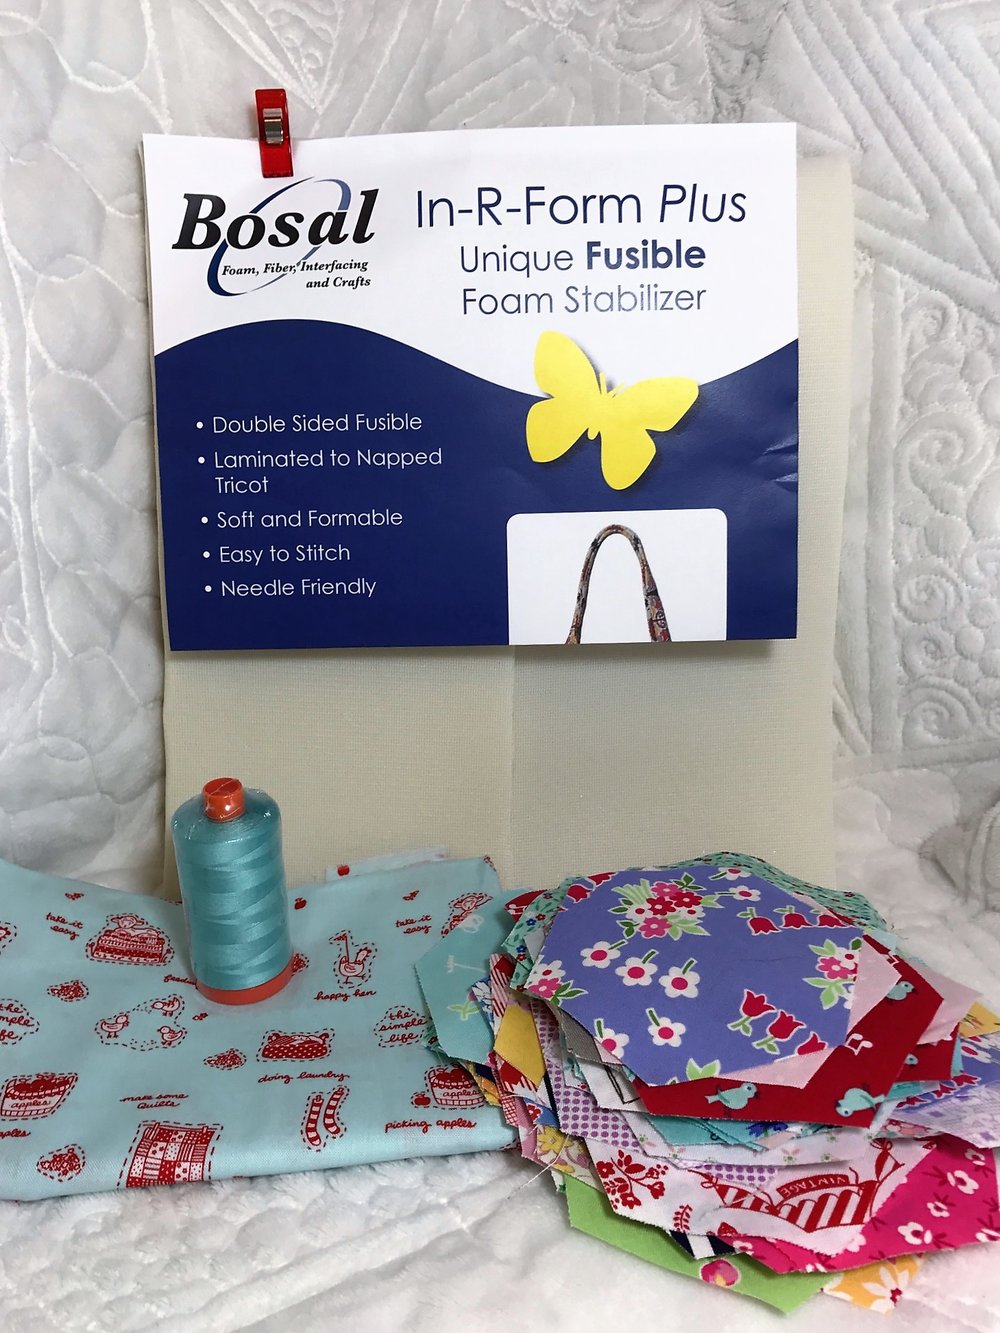
Then, I took advantage of all those decorative stitches that our sewing machines have. I sewed a decorative stitch on each area where the fabric pieces meet, making sure to catch both fabrics in the stitch. That's right I didn't sew these hexies together until after they were fused onto the double-sided fusible foam. No need to worry about "Y" seams on this one! Easy is the way I like it.

After all the stitches were finished, I trimmed it to the size that I wanted. It can be just about any size that you want it as long as the mouse will fit on it. Mine ended up being bigger because it turned out so adorable.

Next, came the binding. Tonya has shown me one of the quickest ways to bind. She has got to do a tutorial on it! I used her fast method on this with a decorative stitch to sew the binding on and the mouse pad was finished.

Here's the front:

And here is the back. If you've used the foam then your mouse pad is washable but must be dried with NO heat. If you've used batting or interfacing you can wash and dry as you normally would.

I loved how this turned out. Hope you have fun with it!

Hugs,

Debbie